
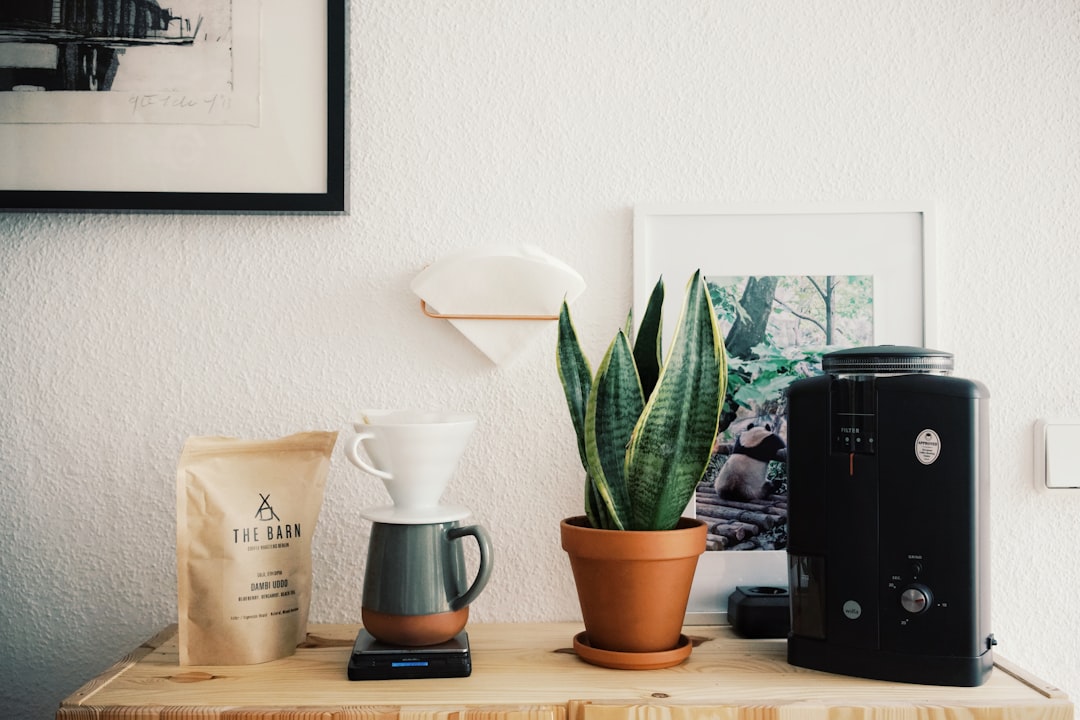
How to Create a Practical Coffee Station at Home
Making a dedicated coffee station turns morning routines into a reliable, enjoyable ritual. A practical setup keeps everything you need within reach, speeds up preparation, and reduces kitchen clutter without requiring a full remodel.
Below you’ll find a step-by-step guide to designing a functional coffee station, with clear choices for placement, equipment, storage, lighting, and upkeep so your station works for daily life and occasional guests.
1. Choose the right location
Select a spot that balances convenience and workflow. Near an outlet is essential for electric brewers, and proximity to the sink and trash makes rinsing and emptying grounds simple. If you plan to keep milk, creamers or coldbrew containers nearby, consider a location adjacent to the fridge and use Refrigerator Organizer Bins to keep dairy items visible and accessible.
2. Define the essential equipment
Decide what coffee styles you make most: drip, pour-over, espresso, or cold brew. Keep the core items—coffee maker, kettle, grinder, and a small utensil caddy—on the counter. Contain the whole setup on a single easy-to-clean surface or tray to create a neat visual anchor; a Serving Trays and Platters makes it simple to move the station or protect the countertop from spills.
3. Organize tools for fast workflow
Arrange items by sequence: beans, grinder, brewer, mug. Store spoons, tampers, clip-on thermometers, and filters where you can grab them without searching. A slim drawer or shallow basket can hold these tools; consider using Kitchen Drawer Organizers to separate scoops, stirrers, and small measuring tools so they stay tidy and ready.
4. Choose appropriate cups and glassware
Match your glassware to the drinks you make. Keep espresso cups, mugs, and tall glasses each in their own spot. If you serve iced coffee or cold lattes often, a durable set of glasses reduces mismatches and breakage—look for a practical option like Drinking Glass Sets so iced drinks are always ready to pour into the right vessel.
5. Lighting and small decor for usability
Good task lighting matters when measuring and tamping. A focused light reduces mistakes and helps create a welcoming vibe for early mornings or after-dinner coffee. A compact lamp on the counter or nearby shelf is both functional and decorative—consider a subtle option from Table Lamps for warm, adjustable light that complements your station.
6. Storage solutions to reduce clutter
Use labeled containers for beans, sugar, and single-serve pods, and keep extras tucked away but easy to reach. Open baskets or lidded boxes are useful on shelves or under the counter; they offer quick visibility and pull-out access. Choose something that fits your style and space like these Decorative Storage Baskets to keep packets, filters, and napkins neat while enhancing the look.
7. Cleaning and maintenance routines
Keeping the station clean prevents buildup and keeps coffee tasting fresh. Rinse the carafe, wipe counters after each use, and empty grounds daily. For drying mugs and small items, a compact rack helps air-dry without dripping across the counter—choose a practical option like a Dish Drying Racks. For weekly deep cleaning—descaling machines, scrubbing grates and wiping spills—use durable protection such as Reusable Cleaning Gloves to keep hands dry and safe from detergents.
8. Small-space and apartment-friendly setups
If you’re tight on counter space, think vertical and modular. Use a narrow cart or a single shelf above a counter to hold grinders, filters, and lighter items. Keep larger equipment on a pull-out shelf or portable tray so you can tuck it away when not in use. Prioritize the items you use daily and store seasonal or rarely used gear out of sight.
9. Station-ready choices for entertaining
When hosting, streamline the station into a self-serve zone: pre-fill containers, lay out spoons and sweeteners, and label milk options. A clean serving surface and an extra tray make refills and clearing plates easier. Place cups and glasses so guests can help themselves, and keep a small waste bowl nearby for used pods and stirrers.
Quick checklist
- Choose a spot near power and water.
- Set a base tray to contain spills (Serving Trays and Platters may help).
- Keep beans and filters in labeled containers.
- Organize utensils with drawer dividers or trays (Kitchen Drawer Organizers).
- Designate drying and cleaning zones (Dish Drying Racks).
- Store extra milk/creamers near the fridge with Refrigerator Organizer Bins.
- Use baskets to group single-serve pods and napkins (Decorative Storage Baskets).
- Light the area with a small lamp (Table Lamps).
- Keep cleaning supplies and gloves on hand (Reusable Cleaning Gloves).
Conclusion
A practical coffee station is less about gadgets and more about intentional layout and reliable systems. Choose a compact footprint, streamline tools, and establish simple cleaning habits. With the right tray, containers, lighting, and storage, your coffee routine will be faster, cleaner, and more enjoyable.
FAQ
- What is the best counter surface for a coffee station? Durable, heat- and water-resistant surfaces like sealed stone or laminate are easiest to maintain. Use a tray or mat to protect the countertop.
- How much counter space do I need? A 24–30 inch length is a practical minimum for a small brewer, grinder, and mugs; use shelves or a cart if space is tighter.
- How should I store beans for freshness? Store beans in an opaque, airtight container at room temperature and buy in amounts you’ll use within 2–3 weeks for best flavor.
- Is it worth having a separate sink nearby? A nearby sink improves cleanup speed but isn’t required; a pitcher and drying rack can bridge the gap if plumbing isn’t available.
- How often should I descale my coffee maker? Descale every 1–3 months depending on water hardness and usage; follow the manufacturer’s instructions.
- Can a coffee station double as a beverage bar? Yes—arrange zone areas for coffee, tea, and cold drinks so items don’t interfere and guests can self-serve.